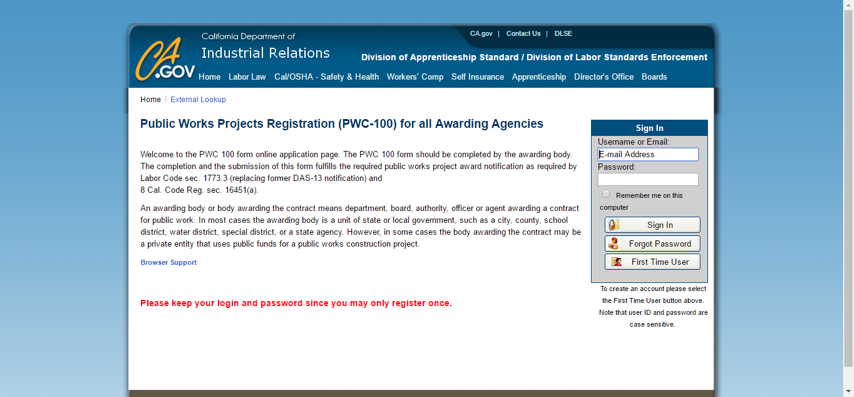
Instructions: DIR Project Registration

Prevailing Wage Document: DIR Project Registration
Frequency of Submitting Form: Once
Updated: January 23, 2017

Purpose

All public works projects awarded must use this system to furnish electronic certified payroll records (eCPRs) to the Labor Commissioner. The awarding body is responsible for completing the registration process with the State of California Department of Industrial Relations (“DIR”).

An awarding body can be an agency of the State, county, city, school or special district awarding a contract for a public works project.
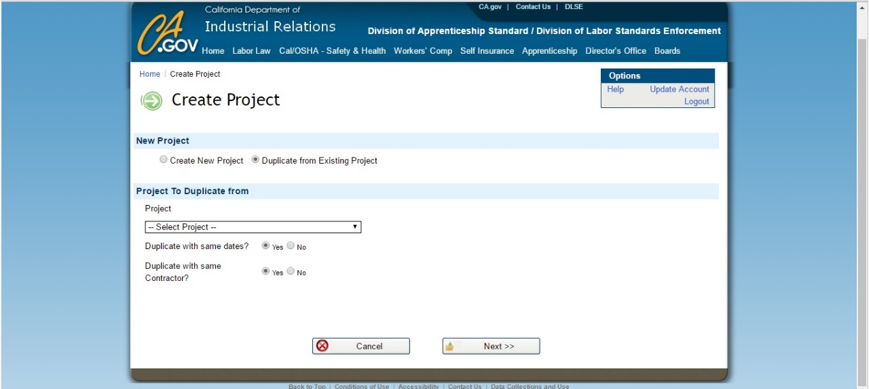
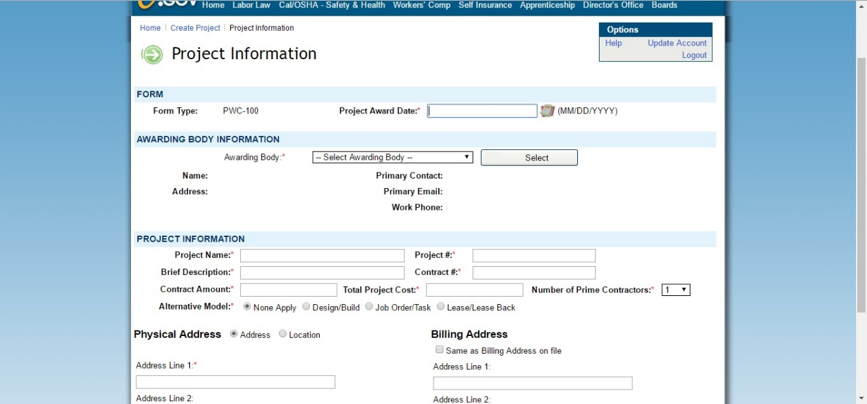
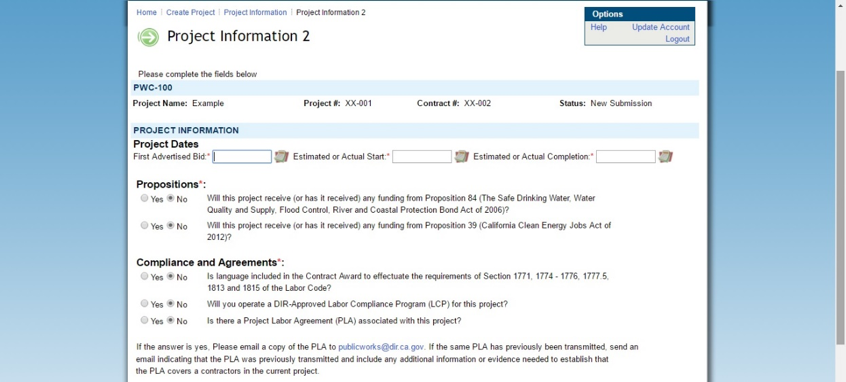
Instructions

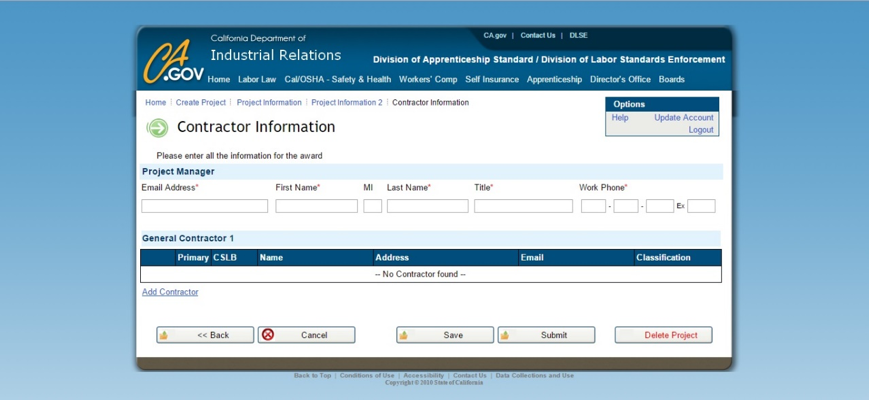
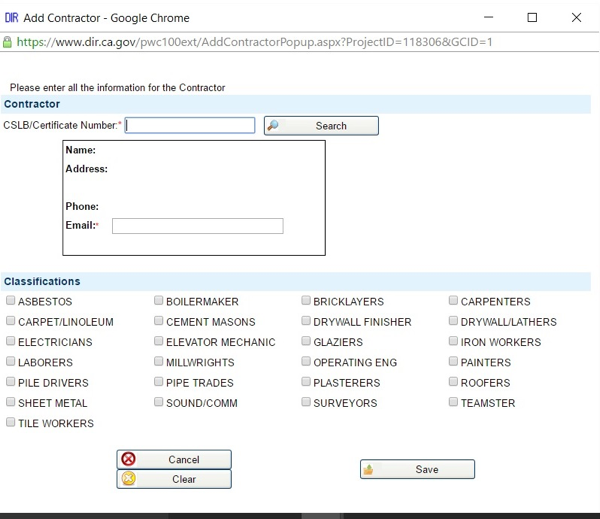
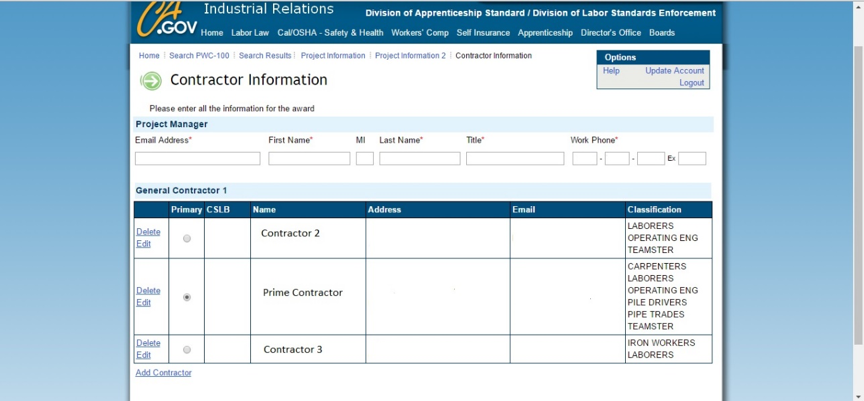
Noted below are the instructions required to register a Public Works Project on the DIR website.  The entities that are considered the “awarding bodies” of the improvement(s) project must complete the PWC-100 form within five days of awarding the contract. Once the DLSE approves the “Awarding Body’s” application, a link will be sent to the contact name of the said Awarding Body to register the project.

  1. Use the link below to start the registration process. At this page, you will be required to sign in to your account in order to proceed.
  2. After successfully logging in, there will be a series of links to select from. They are:
    • Create a project
    • Update a project
    • Awards that need to be submitted
    • User accounts
    • Create an Awarding Body
    • For the purpose of these instructions, select “Create a project”.
  3. The “Create Project” heading will appear.  Under the field New Project there are two options to select:
    • Create New Project – or –
    • Duplicate Existing Project
    • If there have not been any projects entered previously, please select the option Create New Project.  If there has been projects entered, it may be easier / quicker to select the Duplicate from Existing Project option so information does not need to be re-entered.  Select the option that best accommodates the project at hand.
  4. Once an option has been selected, the “Project Information” page will appear.  It is on this page that the user will provide the following information for the Form PWC-100:
    • FORM:
      • Project award date.  This will be the date the project was awarded to the contractor (can utilize the date of the contract as the “project award date”).
    • AWARDING BODY INFORMATION:
      • Name of Awarding Body
      • Primary Contact
      • Address
      • Primary Email Address
      • Work Phone The “Awarding Body Information” will automatically populate once the “Awarding Body” name is selected from the drop down menu (Note: information is populated once the “Select” button is clicked)
    • PROJECT INFORMATION
      • Project Name.
        Type in the name of the project. It can be the name that appears on the approved plans for the said improvement
      • Project Number.
        Type in the project number for the project, which can be the number from the client and / or agency.
      • Brief Description
        Type in the description of the improvement type that is being constructed.
      • Contract Number
        Type in the contract number which can be found on the executed contract between owner and contractor.
      • Contract Amount
        Type in the executed contract amount between owner and contractor for said improvements
      • Total Project Cost
        This will also be the same as the “Contract Amount”
      • Number of Prime Contractors
        Typically this field will have the number “1” selected.
      • Alternative Model
        • None Apply – this field will more times than not be selected for work of improvements involving public funding such as CFDs
        • Design / Build
        • Job Order / Task
        • Lease / Lease Back
      • Physical address
        • Select either Address or Location
        • Type in description of location
        • Select County from listing
        • Billing address
        • Select “Same as Billing Address on file” – or –
        • Type in address in “Line 1” and (if needed) “Line 2”
        • City
        • State (select “CA”)
        • Zip
        • Mail Stop
  5. The next page will be “Project Information 2” that needs to be filled out. This tab will ask to complete the blank fields shown on this page
    • Section: PWC-100 1.
      • Confirm this section is filled out proper based on information filled out in the previous page
    • Section: PROJECT INFORMATION
      1. Project Dates: In this area the following dates will be selected from the Calendar icon, just to the right of the field
        • First Advertised Bid
        • Estimated or Actual Start
        • Estimated or Actual Completion
      1. Propositions: In this area, you will be selecting the following options:
        • Yes – or
        • No
      1. Compliance and Agreements In this area, you will be selecting the following options:
        • Yes – or
        • No
        • Note: If the project is set up by the Owner (or Owner rep) to receive public funds (i.e. CFD), the first item under this section, should be selected as the contract executed should reference labor compliance requirements.  The next two items are normally not selected as projects involving CFD funds would not need to “operate a DIR-Approved Labor Compliance Program (LCP)” and / or “Project Labor Agreement (PLA)” with the project.
  6. Upon completion of Project Information 2, the next page will be Contractor Information. It is here, the contractor’s “point person” for the improvement will have their information inputted and displayed.

    • Project Manager
      1. Email Address
      2. First Name
      3. Middle Initial (not a required field)
      4. Last Name
      5. Title
      6. Work Phone Number (and extension)
    • Once all of the fields have been inputted under “Project Manager”, click the “Add Contractor” link on the bottom left.
    • A pop up page should show, if no pop up page occurs, make sure your computers “pop up blocker” is turned off.
  7. Once Pop Up page has appeared, the Awarding Body must enter the Contractor’s Public Works Registration (PWCR) number in the noted field and select the search button.  The contractor’s name, address and phone number should appear.  Enter in the email address and select the classifications that apply to this Contractor.  Click “save” to complete.  All information will now show on the General Contractor 1 section of the Contractor Information page.
  8. Once back on the page of “Contractor Information”, make sure all information is correct.  If all information checks out correctly, select, the “Primary” button in the General Contractor 1 section before submitting the information via the “Submit” button.
  9. Once completed, a page will appear stating your project has been submitted on the said date (Submitted MM/DD/YYYY) with the statement of “Congratulations your PWC-100 has been submitted.”
  10. It is important to save this information and it can be done by selecting the “Print PWC-100” tab.